
Marble nails are trending all over social media so I decided to give them a try using two basic Essie colors, a small nail brush, and pure acetone.
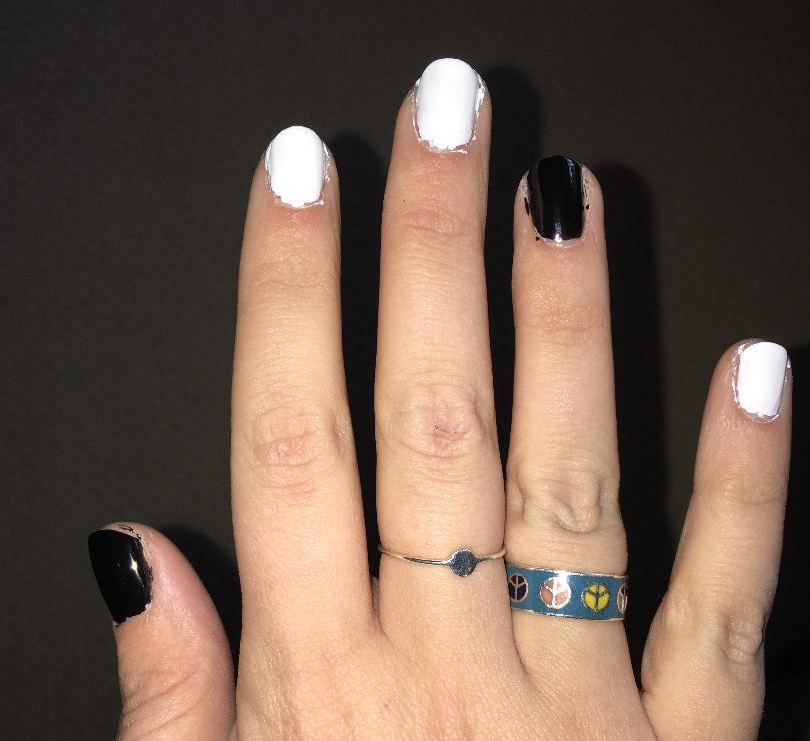
Step 1: After applying my all-in-one Essie base coat, I painted my nails with two coats of either Essie Blanc or Essie Licorice. I didn’t want to do all of my nails marble so I color blocked with the black.
Step 2: I used my handy dandy design brush to create black vein-like lines on only my white nails. I just bought the brush today at Sally and it is something I never knew I needed as an Obsessie.

Step 3: To create the “marble” effect, I took the design brush, dipped it in pure acetone, and smeared the black lines in no specific way.


Step 4: After creating a tie-dye-ish look, I went back in with the black to create a few sharp lines much like a slab of natural marble has. I even took a little white and fixed the areas I wasn’t happy with.

Step 5: I wanted to add a little shimmer so I took a silver polish and added a few shiny details throughout each nail.

I really love the final product. I definitely need to learn how to take better pictures because none of these do the design any justice. I was really tempted to put Essie’s Matte About You on as a top coat, but I decided against it because I really love the shine.
The design was time consuming but absolutely worth it. It helped that I didn’t do every nail in marble. The best part about doing this design is that there is no right or wrong way. You can go back in a million times with the acetone, black, or white and adjust anything you want. It doesn’t have to be perfect and it’s more fun when each nail looks a little different.


Beautiful article dear.. And I totally love your pictures..😇😇
Check out my new post.. Its on beautiful and gorgeous nails..
https://tinutrends.wordpress.com/2018/03/13/nude-is-the-classy-nail-colour-of-the-year-why/
LikeLike
So cute! And I love the Beauty Secrets acetone – so good!
LikeLike